The serpentine belt is a key part of your car’s engine system. It powers multiple components like the alternator, power steering pump, air conditioning compressor, and sometimes the water pump. A worn or broken serpentine belt can lead to sudden breakdowns — but the good news is, replacing it is a manageable DIY task.
In this detailed guide, you’ll learn exactly how to replace your serpentine belt safely, what tools you’ll need, and how to avoid common mistakes.
🔍 What Is a Serpentine Belt?
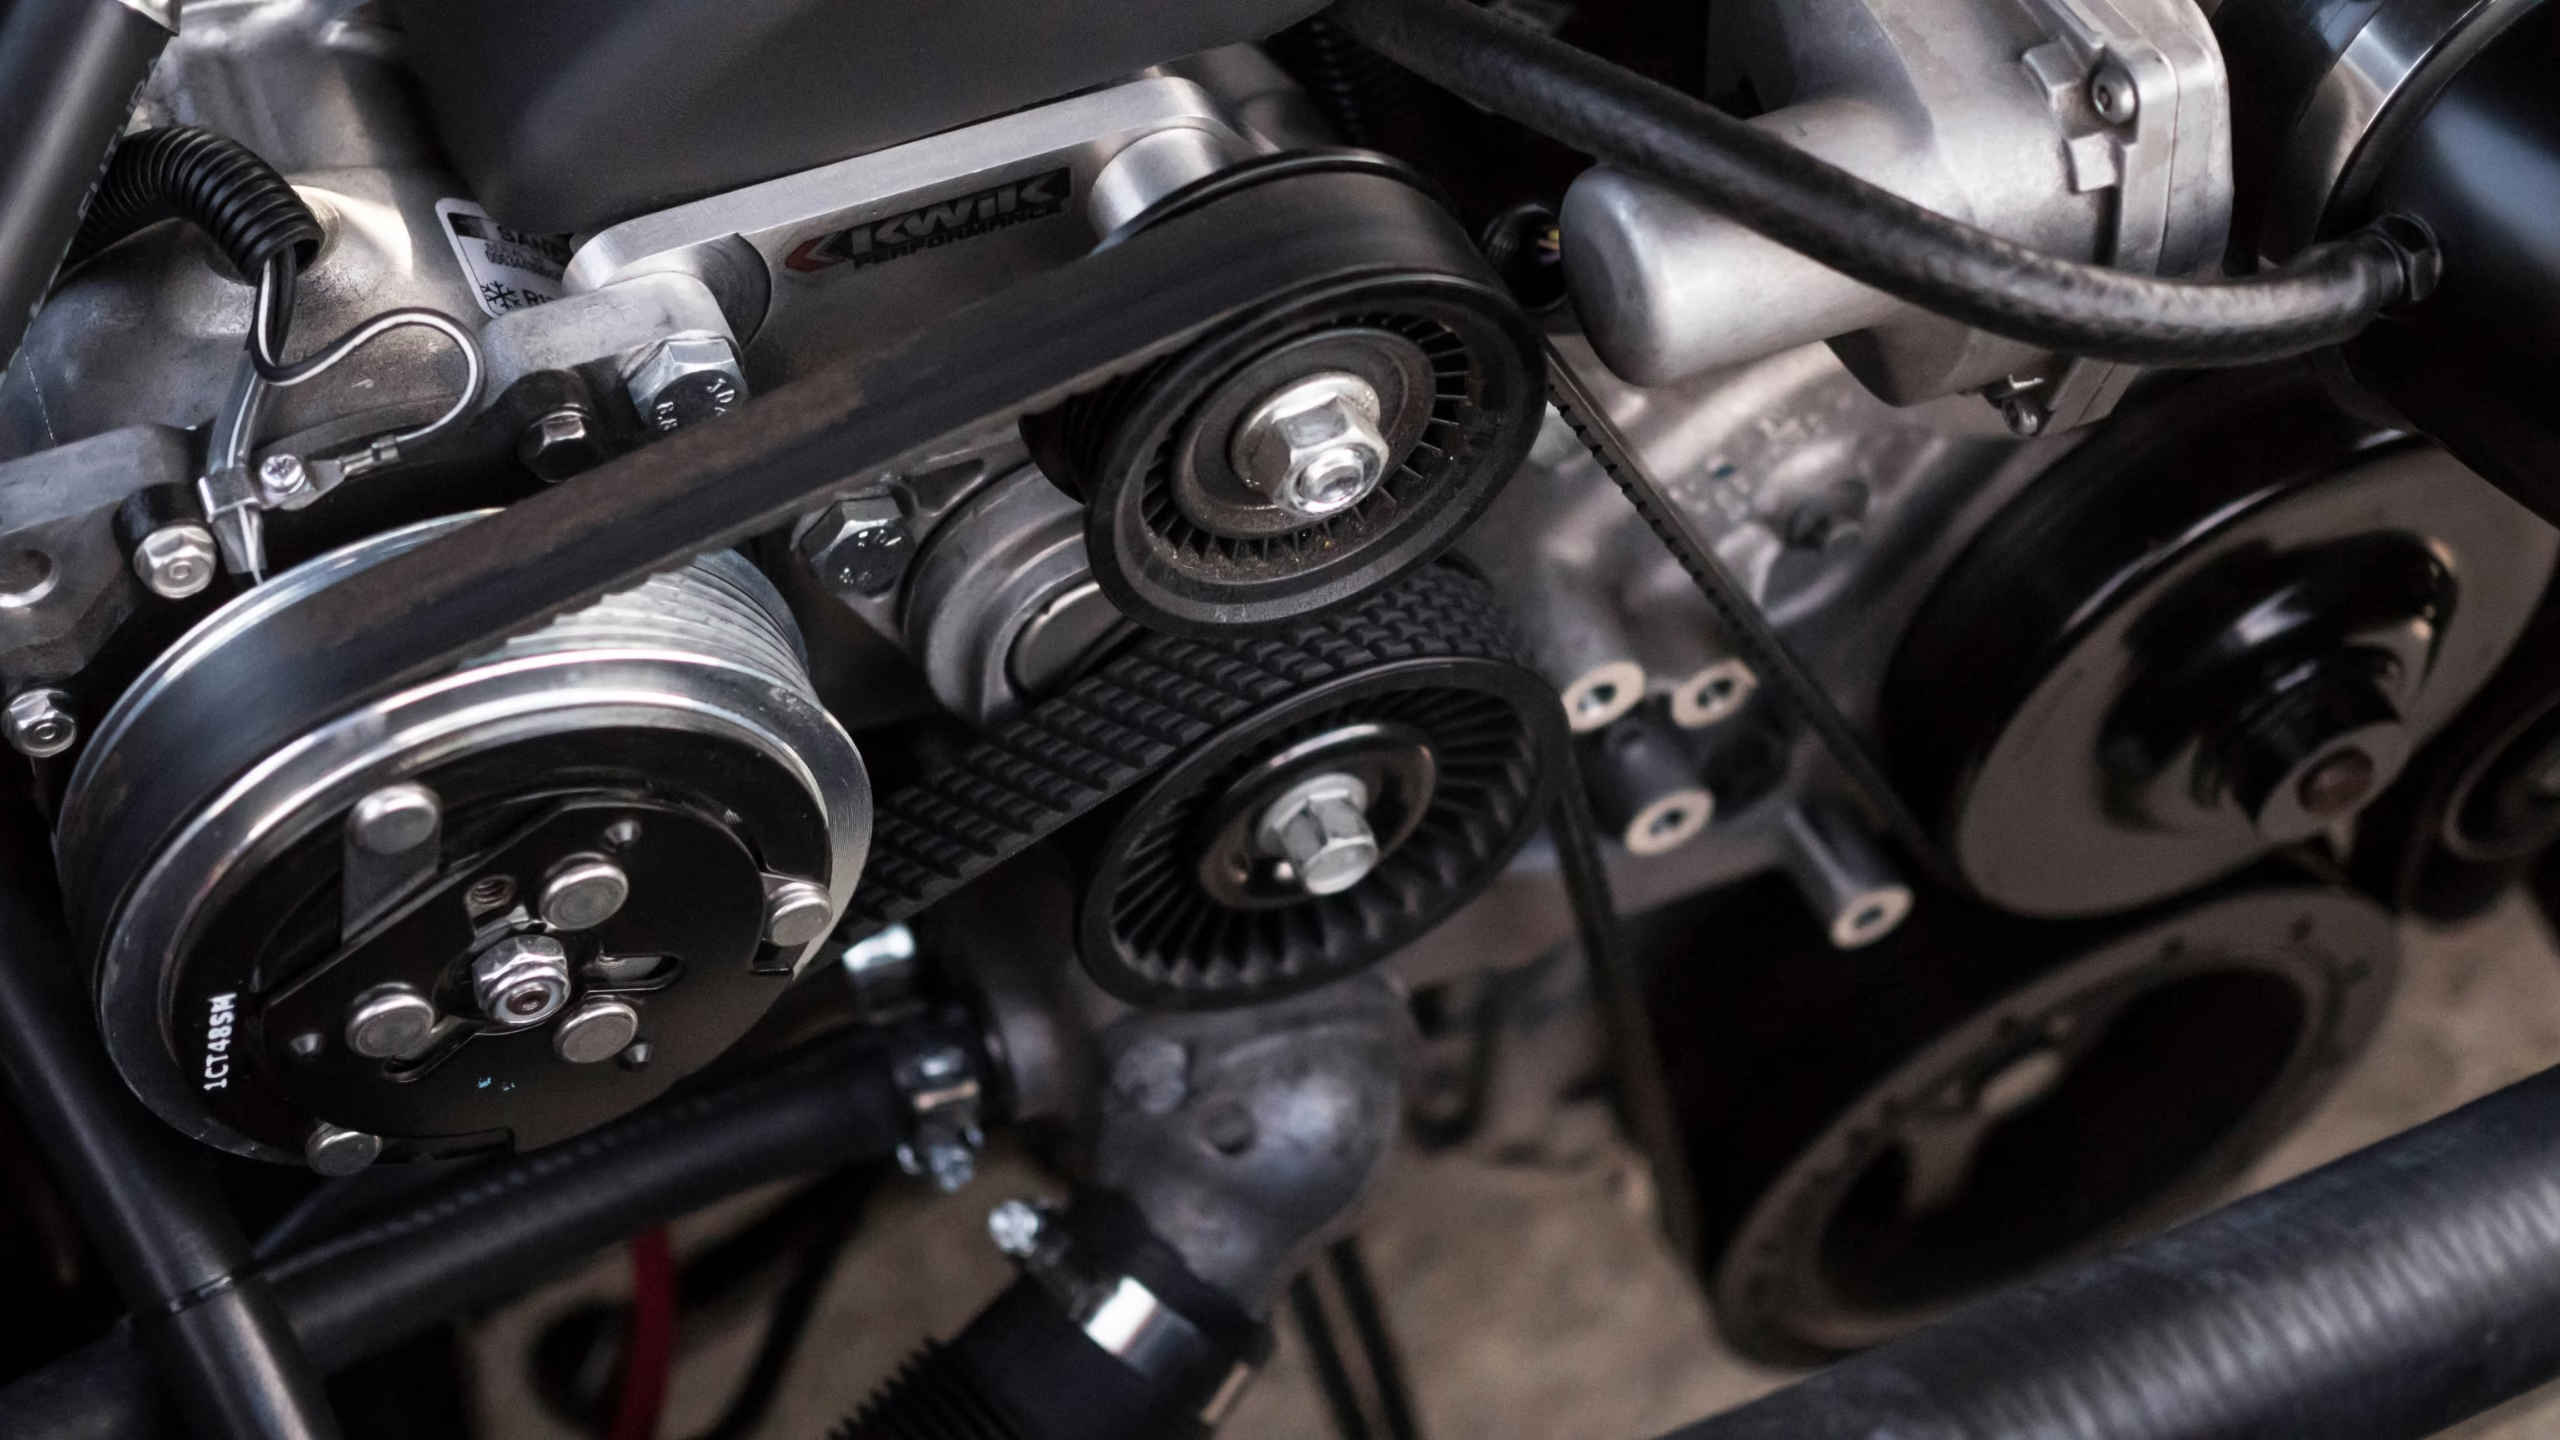
The serpentine belt (also called the accessory drive belt) is a long, winding belt that “snakes” through pulleys and powers various engine accessories. Most modern vehicles use one single serpentine belt instead of multiple smaller belts.
⚠️ Symptoms of a Failing Serpentine Belt
Here are the most common signs your serpentine belt needs replacing:
- Squealing or chirping noise from the engine
- Visible cracks, fraying, or glazing on the belt
- Loss of power steering
- Overheating engine (if the water pump is belt-driven)
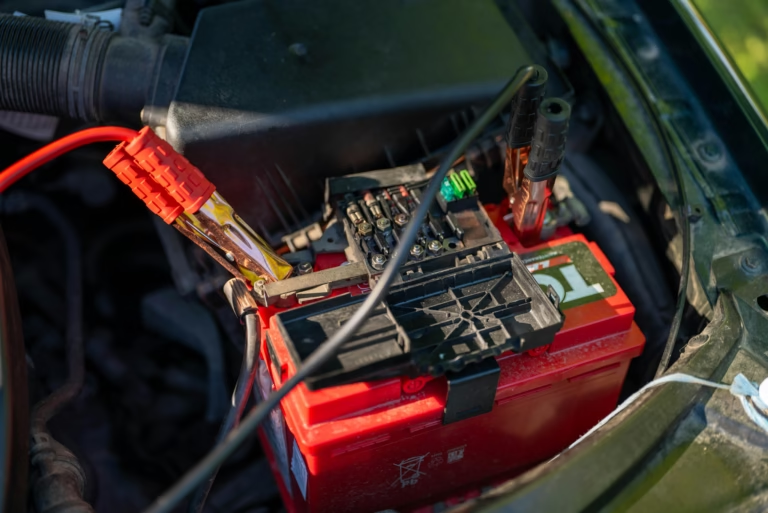
- Battery warning light (if alternator stops charging)
Most serpentine belts last between 60,000 to 100,000 miles, but it’s good to inspect it during every oil change.
🧰 Tools and Materials You’ll Need
- New serpentine belt (check your owner’s manual or parts store for exact size)
- Wrench or serpentine belt tool (ratchet with socket or breaker bar)
- Gloves and safety glasses
- Serpentine belt routing diagram (from under the hood or manual)
- Optional: flashlight, inspection mirror, and camera (for routing reference)
🪛 Step-by-Step: How to Replace Your Serpentine Belt
✅ Step 1: Park and Prep
- Park the vehicle on a flat surface.
- Turn off the engine, remove the key, and engage the parking brake.
- Open the hood and locate the serpentine belt — it’s usually on the front of the engine.
📷 Step 2: Study the Belt Routing
Before removing anything, either:
- Find the belt routing diagram sticker (usually under the hood), or
- Take a clear picture of the belt routing with your phone
You’ll need this later to route the new belt correctly.
🔧 Step 3: Release Tension
The belt is held tight by a tensioner pulley — a spring-loaded arm that keeps the belt snug.
- Locate the tensioner (it looks like a regular pulley but is attached to a pivoting arm).
- Use your wrench or serpentine belt tool to rotate the tensioner arm — this will loosen the belt.
- While holding tension, slide the belt off one of the pulleys.
- Slowly release the tensioner arm.
⚠️ Caution: The tensioner is under pressure — don’t let it snap back suddenly.
🔩 Step 4: Remove the Old Belt
Now that it’s loose, you can pull the old belt out of the pulleys.
- Take note of any sharp cracks, glossy wear, or missing chunks — these are all signs it was time to replace.
🧼 Step 5: Inspect the Pulleys
Before installing the new belt:
- Spin each pulley by hand — they should move freely with no grinding.
- Check for misalignment, wobbling, or dirt/debris in the grooves.
- If a pulley feels rough or loose, that component may also need servicing.
🆕 Step 6: Route the New Belt
Using your diagram or photo:
- Route the new belt around the crankshaft pulley first.
- Follow the correct path around all accessories (alternator, A/C, power steering).
- Leave the tensioner pulley for last.
Make sure the belt is sitting properly inside each pulley groove.
🛠️ Step 7: Reapply Tension
- Rotate the tensioner arm again (same direction as before)
- Slide the new belt over the tensioner pulley
- Slowly release the tensioner arm so it tightens the belt
Double-check that the belt is properly aligned in every pulley groove.
🔁 Step 8: Spin and Test
- Use your hand to turn the crank pulley one full rotation (if possible) — this ensures the belt is seated and not twisted.
- Visually inspect for any misalignment.
🚗 Step 9: Start the Engine
- Start the car and let it idle
- Watch the belt for 30–60 seconds — it should run smoothly with no slipping or noise
- Listen for squeals, which could mean misalignment or tension issues
If everything looks good, close the hood — you’re done!
🧠 Pro Tips
- Buy a quality belt — cheap ones tend to squeal or wear out faster.
- Don’t use belt dressing to stop squeals — it only masks bigger problems.
- Keep a spare serpentine belt in your trunk if you’re going on long road trips.
💸 DIY vs. Mechanic Cost Breakdown
| Item | DIY Cost | Shop Cost |
|---|---|---|
| New Serpentine Belt | $25–$50 | $50–$100 |
| Labor | Free | $75–$150 |
| Total | $25–$50 | $125–$250 |
Replacing it yourself could save you $100 or more in labor alone.
❌ Common Mistakes to Avoid
- Forgetting the belt routing order
- Not fully seating the belt in all pulley grooves
- Using the wrong size belt
- Ignoring noisy pulleys (they may need replacement too)
🧰 Maintenance Tips for Longevity
- Inspect your belt every 10,000 miles
- Replace tensioner or pulleys if they show signs of wear
- Avoid spraying liquids near the belt
- Always replace at the first sign of cracking or fraying