If your dashboard lights are flickering, your battery keeps dying, or you hear strange whining under the hood, your car’s alternator could be on its way out. The alternator is a critical part of your vehicle’s electrical system — it keeps the battery charged and powers everything from your headlights to your stereo while the engine runs. Replacing it might sound intimidating, but with the right tools and steps, you can do it at home.
This guide will walk you through how to safely diagnose a failing alternator, remove the old one, and install a new alternator in most common vehicles.
🔍 What Does the Alternator Do?
The alternator generates electricity using the motion of your engine. It supplies power to your car’s electrical systems and keeps the battery charged. If it fails, your car will eventually lose electrical power and shut down — often within minutes to hours, depending on battery strength.
⚠ Signs of a Failing Alternator
Before you go replacing anything, make sure the alternator is actually the problem. Here are common symptoms:
- Dimming or flickering headlights
- Dead battery despite recent replacement
- Battery warning light on the dashboard
- Strange whining or grinding noise near the engine
- Malfunctioning accessories (radio, power windows, lights)
- Burning rubber smell (worn pulley/belt)
You can confirm the issue by using a voltmeter:
- Start the engine and check the battery terminals.
- A healthy alternator should show between 13.5 to 14.5 volts.
- If it’s under 13 volts or fluctuating, the alternator is likely bad.
🧰 Tools & Materials You’ll Need
Before starting, make sure you have:
- A new or remanufactured alternator (matched for your vehicle)
- Socket and ratchet set
- Wrench set (including adjustable)
- Screwdrivers (flathead & Phillips)
- Belt tensioner tool (if applicable)
- Protective gloves
- Safety goggles
- Multimeter or voltmeter
- Pen and notepad (to note belt routing)
Optional but helpful:
- Torque wrench (to ensure proper bolt tightening)
- Anti-seize compound or thread locker
🔧 Step-by-Step: How to Replace Your Alternator
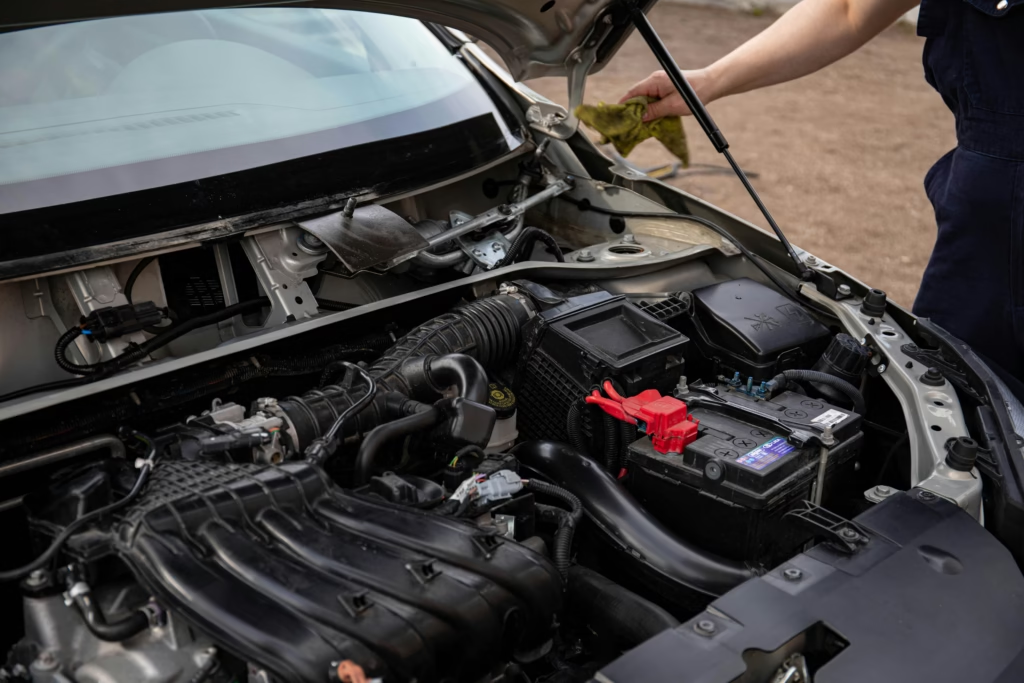
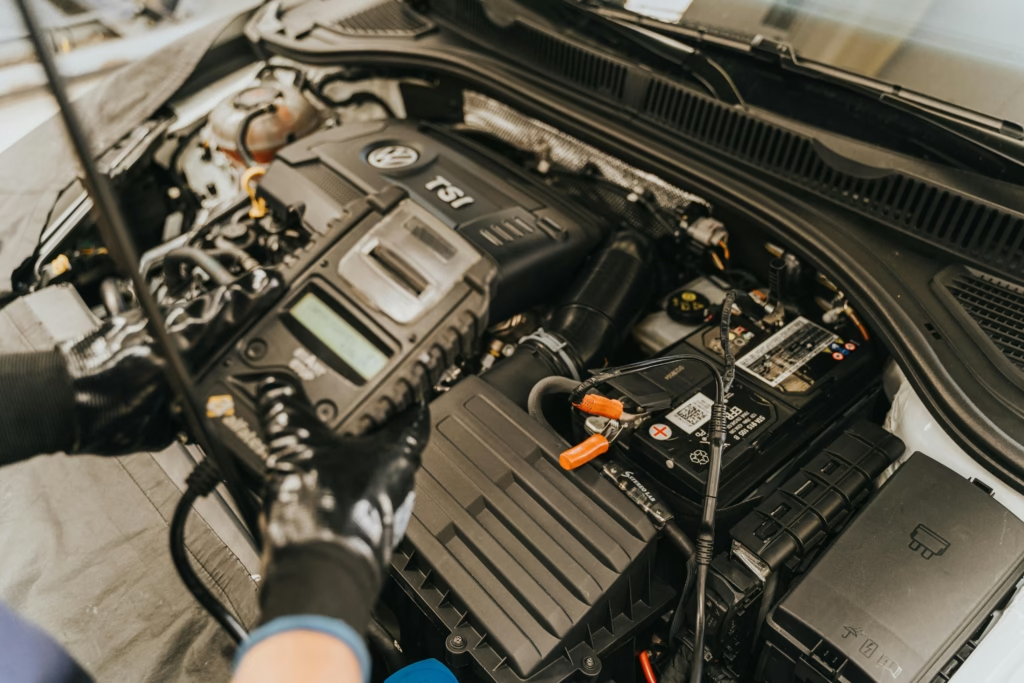
🔋 Step 1: Disconnect the Battery
Safety first. Disconnect the negative terminal of the battery to avoid any chance of shock or shorting out your electrical system. This also protects your car’s computer from voltage spikes during removal.
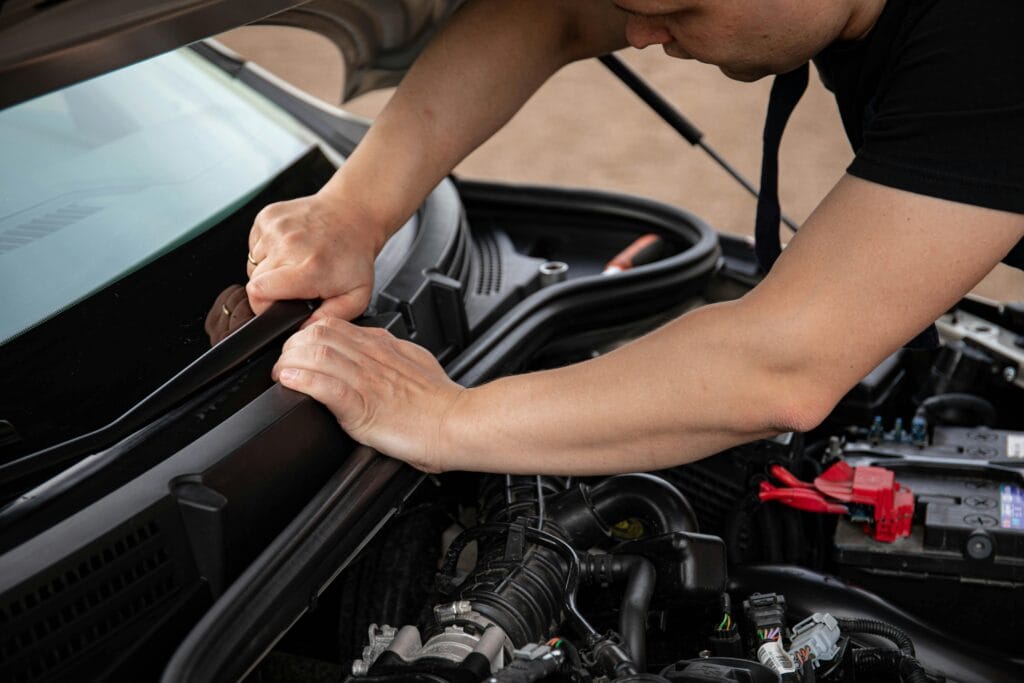
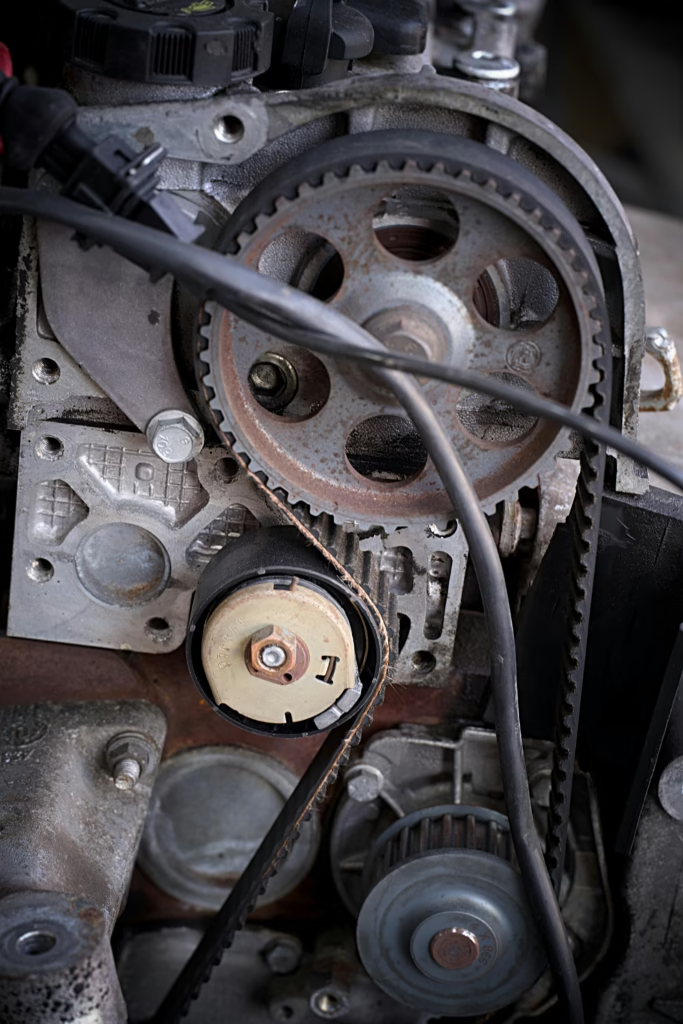
📍 Step 2: Locate the Alternator
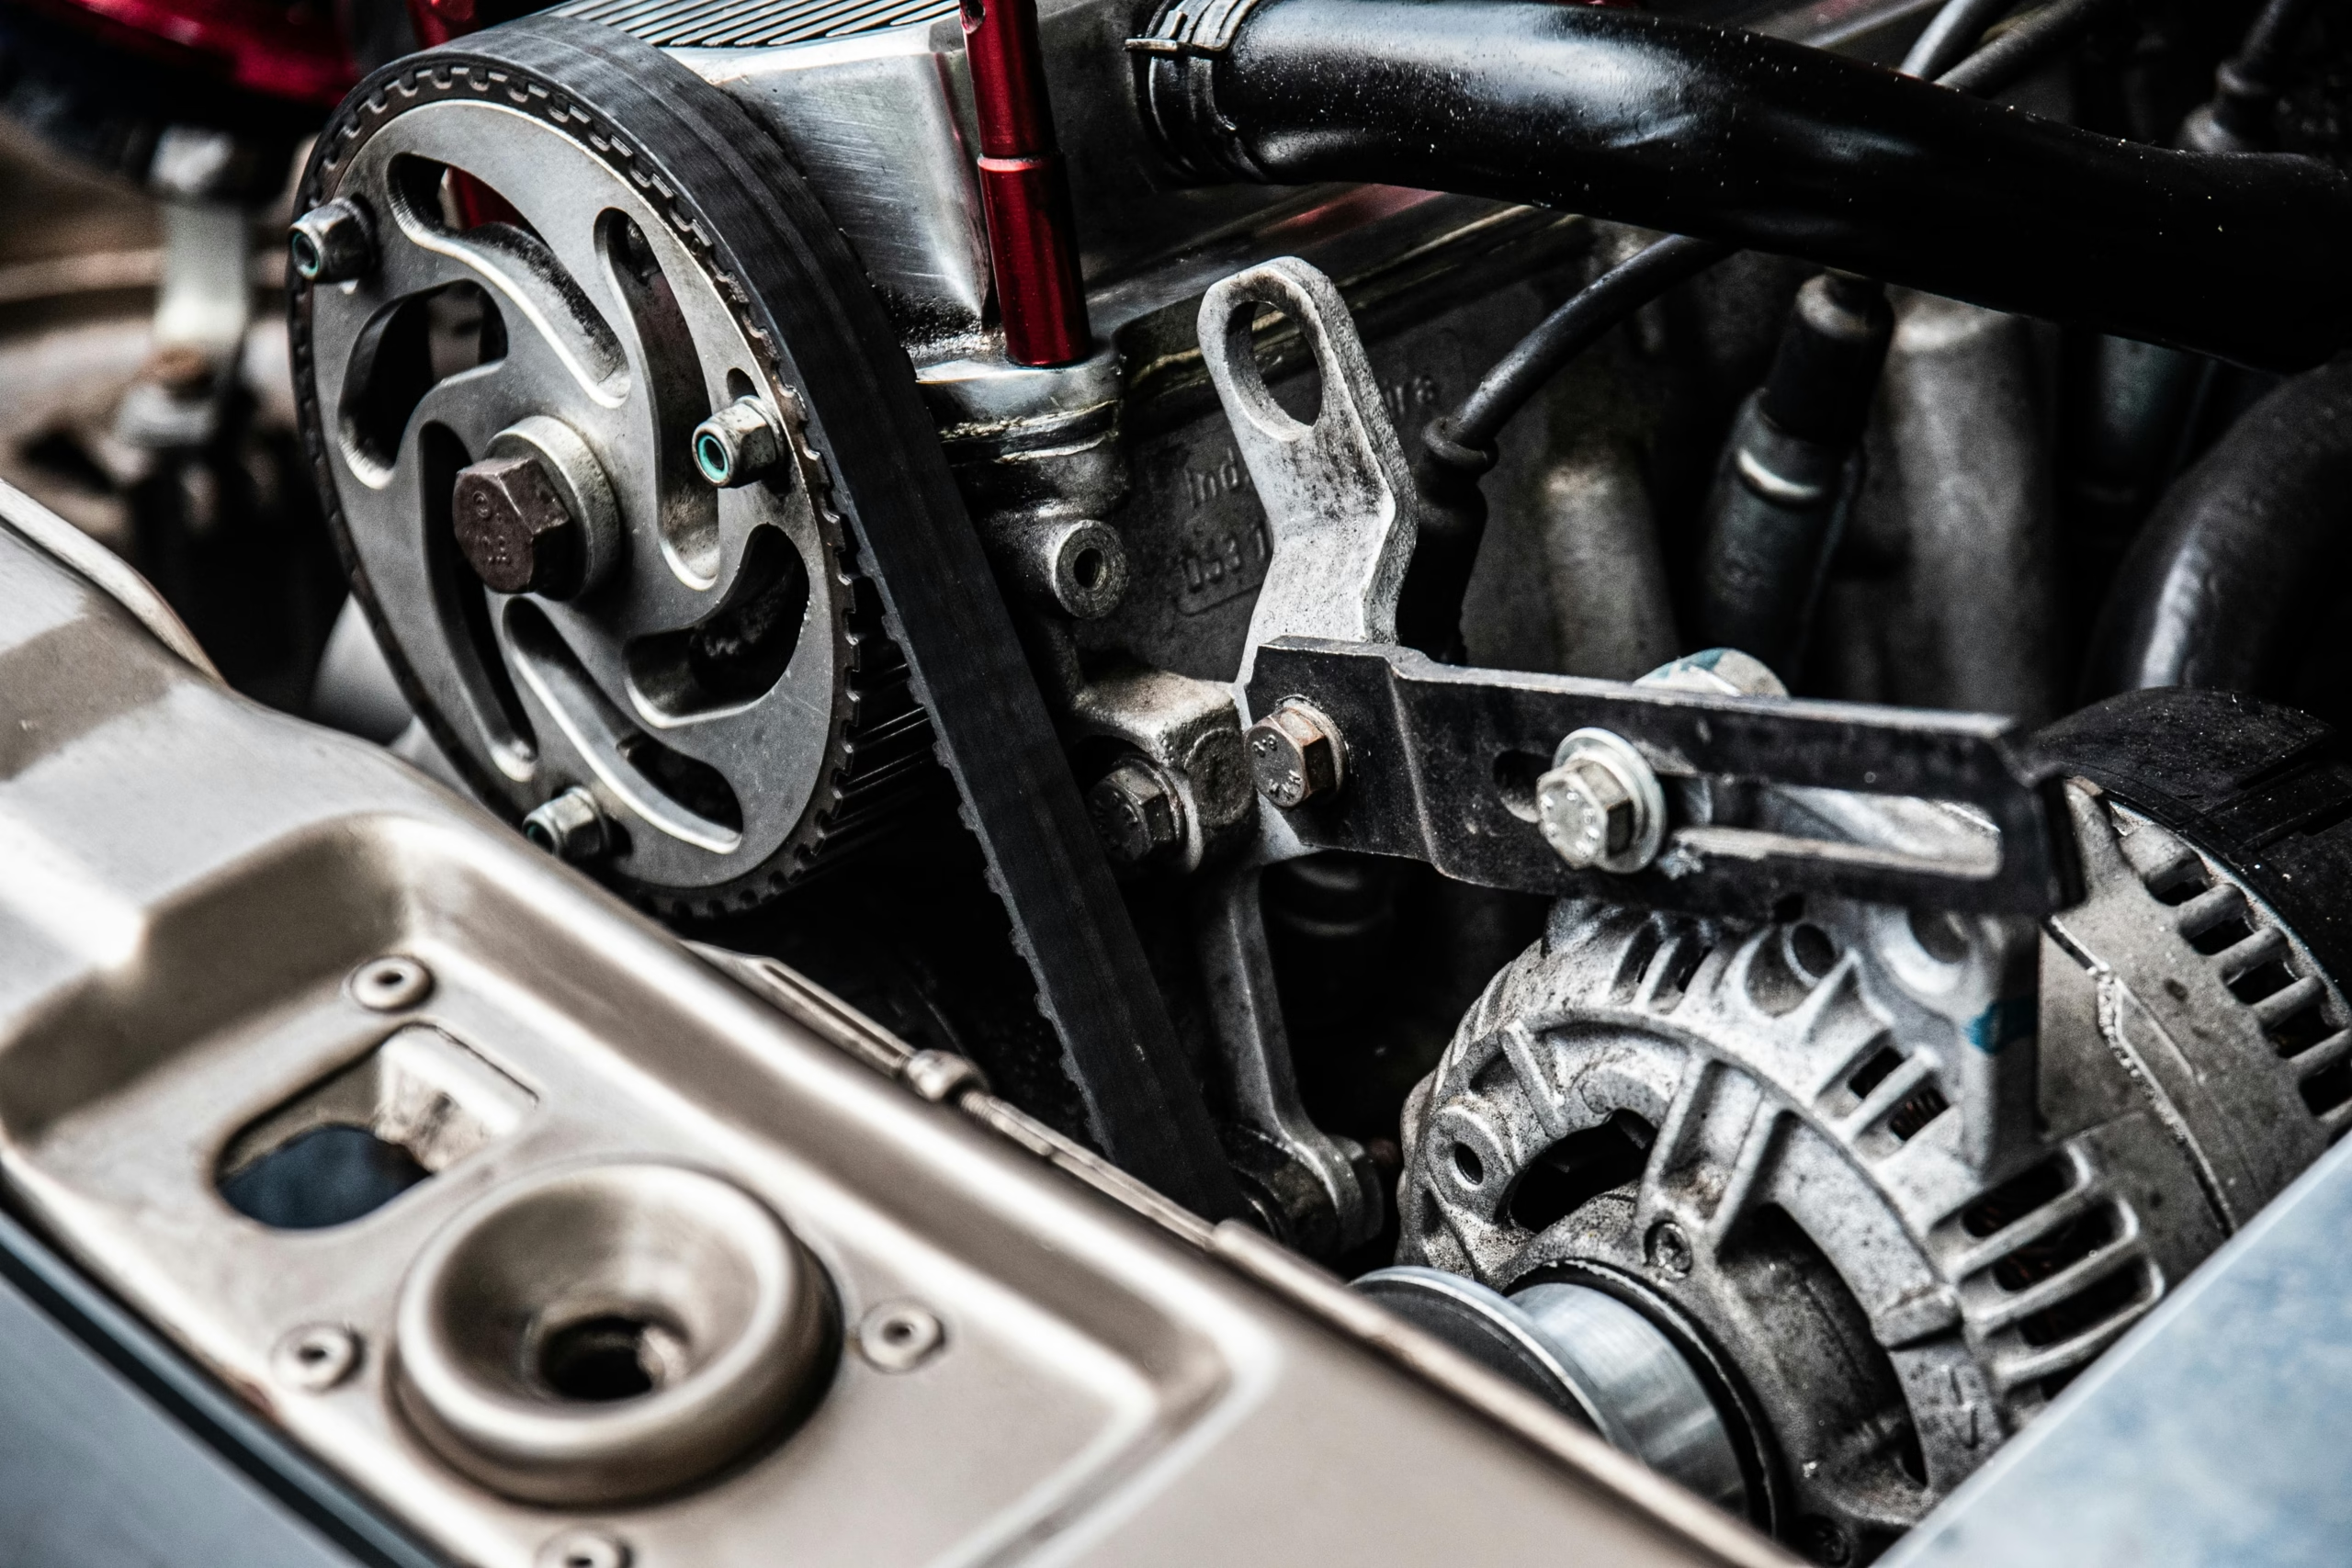
Open the hood and locate the alternator — typically mounted near the front of the engine and driven by the serpentine belt. It’s a metal unit with vents and a pulley.
Use your phone to take a clear photo of the belt routing before removing anything. You’ll use this later to reinstall the belt correctly.

⚙️ Step 3: Remove the Serpentine Belt
Use a belt tensioner tool or a wrench on the tensioner pulley to relieve tension on the serpentine belt. Slide the belt off the alternator pulley and slowly release the tensioner.
Set the belt aside if it’s still in good condition. If it’s cracked or glazed, now is a great time to replace it.
🔌 Step 4: Disconnect Electrical Connectors
There will usually be two main connections:
- A large wire connected with a nut (battery charging wire)
- A small wire or plug (field wire or voltage regulator)
Use a wrench or socket to carefully loosen and remove these connections. Be gentle with plugs — don’t pull by the wire.
🔩 Step 5: Unbolt and Remove the Alternator
Locate the mounting bolts. Most alternators are held in place with 2–4 bolts.
Remove these with a socket wrench and slide the alternator out of its bracket. If it’s stuck, gently wiggle or pry it out using a flathead screwdriver.
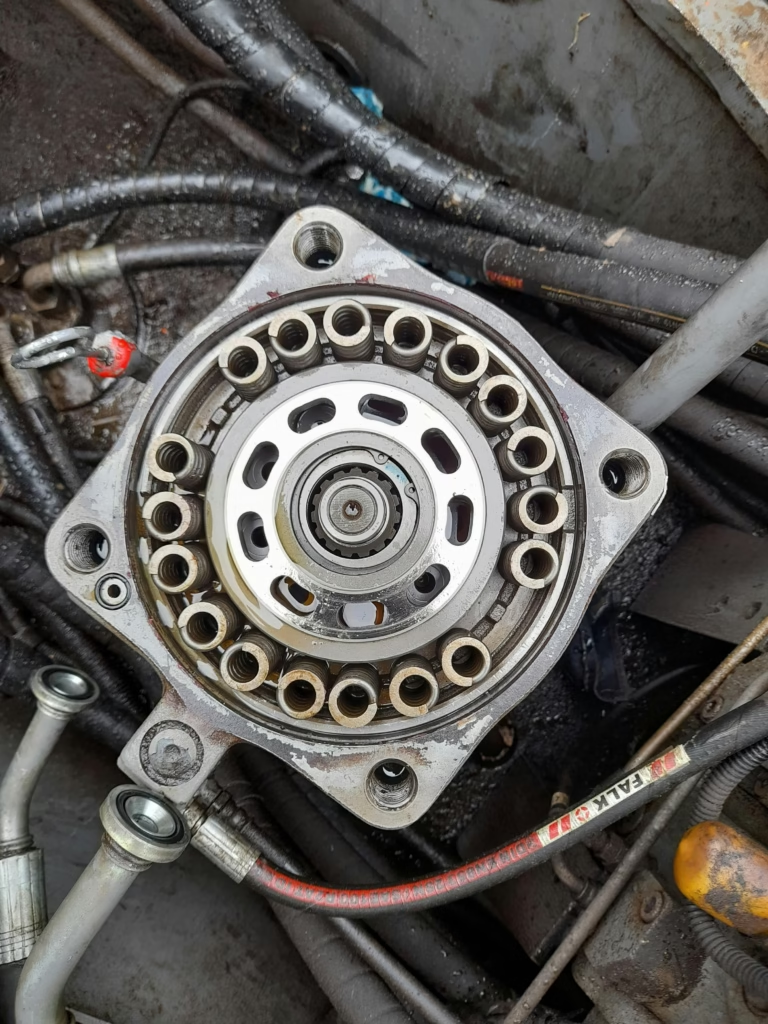
🆕 Step 6: Install the New Alternator
Place the new alternator in the bracket and line up the bolt holes.
Thread in all bolts by hand first, then tighten with a socket wrench. Use a torque wrench if your car’s manual specifies torque settings.
Reconnect the electrical connections:
- Secure the main battery wire (ensure the nut is tight)
- Plug in or screw down the smaller wire(s)
🔁 Step 7: Reinstall the Serpentine Belt
Use your previous photo or the diagram under the hood (if available) to route the serpentine belt properly. Use the tensioner tool to slip the belt over the alternator pulley and release tension.
Double-check that the belt is seated correctly on all pulleys.

🔋 Step 8: Reconnect the Battery
Reconnect the negative terminal of the battery.
Start the engine and check for the following:
- No unusual noises from the engine bay
- Battery light on the dash turns off
- Multimeter reading at the battery shows 13.5–14.5 volts
If all checks out, you’re good to go.
🧼 Step 9 (Optional): Add Anti-Corrosion Protection
Use dielectric grease or battery terminal protector spray to keep the electrical connections clean. This step is optional but helps prolong the life of both the battery and alternator.
⏱ How Long Does It Take?
- Beginner DIYer: 1.5 to 3 hours
- Experienced: Under 1 hour
Difficulty: Moderate
Tools required: Common hand tools and basic electrical knowledge
💰 Cost Breakdown
| Item | DIY Cost | Mechanic Shop |
|---|---|---|
| Alternator (OEM/Aftermarket) | $100–$250 | $350–$600+ |
| Serpentine Belt (if needed) | $20–$50 | $80–$150 |
| Labor | Free | $150–$300 |
By doing this repair yourself, you could save up to $500 or more, depending on your vehicle.
🚗 Maintenance Tips to Extend Alternator Life
- Keep your battery in good condition
- Avoid jump-starting the car too often
- Don’t overload with aftermarket accessories (lights, amps)
- Check and replace worn belts early
- Keep terminals clean and corrosion-free
✅ Final Thoughts
Replacing your alternator is a solid DIY project that can save hundreds of dollars and get your car running like new. With patience and attention to detail, anyone with basic tools can take on the job in a few hours. Always remember to disconnect the battery, handle electrical parts carefully, and double-check belt routing.
This isn’t just a fix — it’s an upgrade to your confidence as a car owner.