Your brake system is the most important safety component in your vehicle. Over time, brake pads wear down and lose effectiveness — making your car take longer to stop and increasing the risk of accidents.
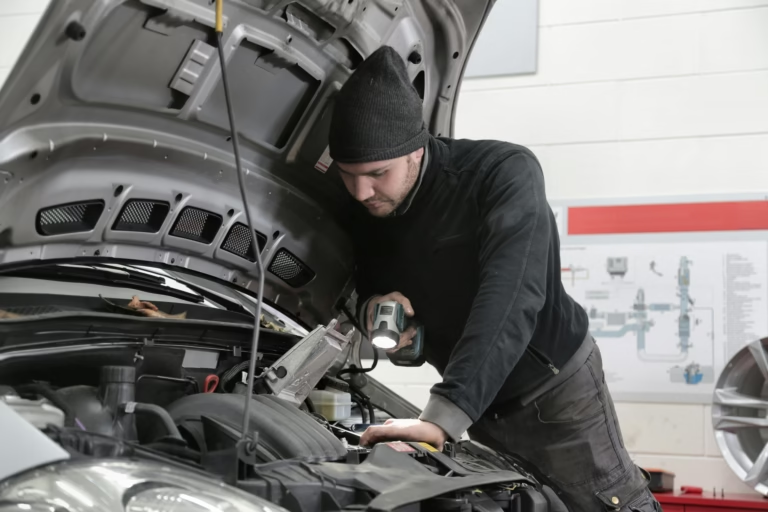
Luckily, replacing brake pads is something many car owners can do at home with the right tools and guidance. In this detailed guide, you’ll learn how to replace your front brake pads safely and correctly, even if it’s your first time working on your car.
🛑 Why Replacing Brake Pads Is So Important
Brake pads press against your car’s brake rotors to create the friction needed to stop the vehicle. As the pads wear down, stopping distance increases and braking becomes less responsive.
Signs your brake pads need replacing:
- Squeaking or squealing when braking
- Grinding sound (metal-on-metal contact)
- Longer stopping distances
- Brake warning light
- Visual wear (pads less than 1/4 inch thick)
If ignored, worn-out pads can damage the rotors — which are more expensive to replace.
📆 When Should You Replace Brake Pads?
Most vehicles require new brake pads every 30,000 to 70,000 miles, but it depends on:
- Your driving style
- Road conditions
- Pad material
Always check your owner’s manual for recommendations, and inspect your pads regularly if you drive often in stop-and-go traffic.
🧰 Tools and Supplies You’ll Need
- New brake pads (match your car’s make/model)
- Jack and jack stands
- Lug wrench
- Socket set
- C-clamp or brake caliper tool
- Flathead screwdriver
- Brake cleaner
- Anti-squeal brake grease
- Gloves and safety glasses
🔧 Step-by-Step: How to Replace Your Front Brake Pads
🛑 Step 1: Park Safely and Prepare the Car
- Park on a flat surface
- Engage the parking brake
- Loosen lug nuts on the front wheels (don’t remove yet)
- Raise the front of the car with a jack and place jack stands under the frame
- Remove the wheels
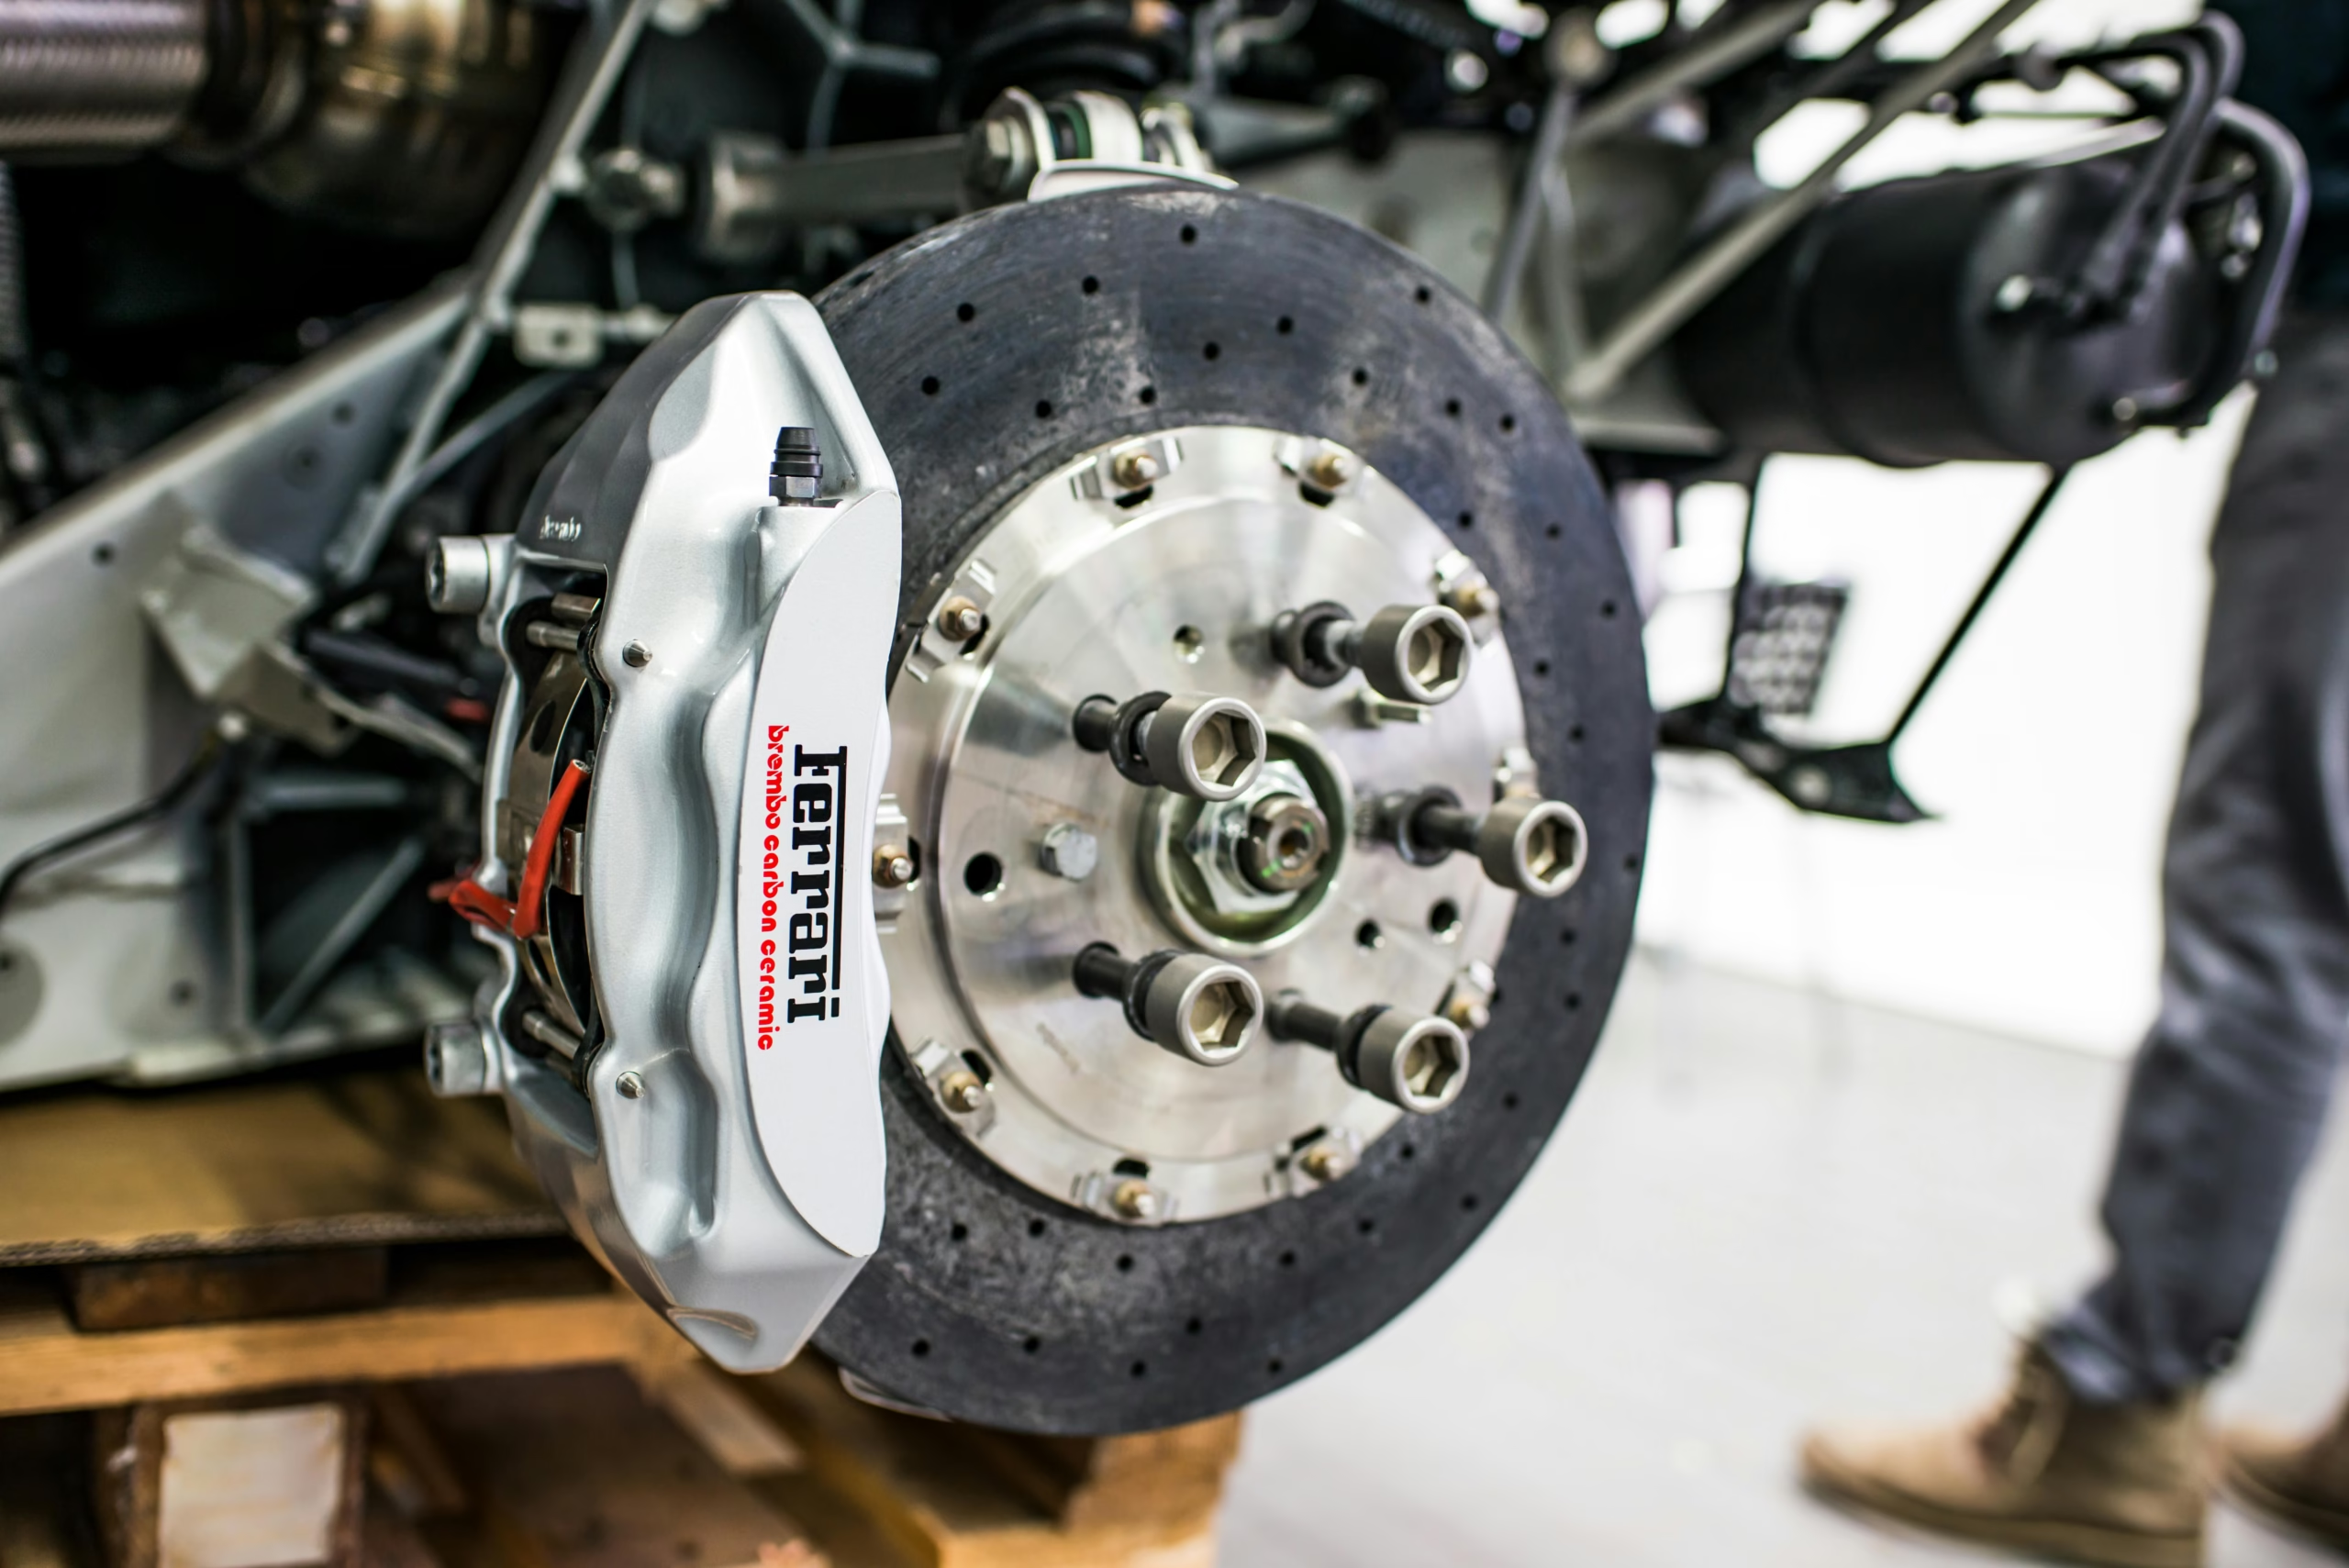
🧱 Step 2: Locate the Brake Caliper
The caliper is the metal part that clamps down on your rotor. It holds the brake pads on both sides of the rotor.
Use a socket wrench to remove the caliper bolts. Hang the caliper with a wire or bungee cord to avoid putting stress on the brake hose.
🔧 Step 3: Remove the Old Brake Pads
The pads are usually held in place by clips. Simply slide them out from both sides of the rotor.
Inspect the old pads:
- If they’re worn unevenly, your caliper may be sticking
- If they’re cracked or falling apart, it’s good you’re replacing them
🧼 Step 4: Inspect and Clean the Area
Spray brake cleaner on the rotor, caliper bracket, and surrounding area. Wipe away dirt, brake dust, and grease.
Check the rotor for:
- Deep grooves
- Rust
- Scoring or warping
If the rotor is damaged, it may need resurfacing or replacement.
🔩 Step 5: Compress the Caliper Piston
Before you install new pads, you need to retract the caliper piston so it can fit over the thicker new pads.
Place an old brake pad against the piston and use a C-clamp or brake caliper tool to push the piston back in slowly. Watch for brake fluid overflow from the reservoir.
🧴 Step 6: Install the New Brake Pads
Apply anti-squeal brake grease to the back of the new pads (not the friction surface). This reduces noise and prevents sticking.
Slide the new pads into place, aligning them with the metal clips.
🔧 Step 7: Reinstall the Caliper
Place the caliper back over the rotor and pads. Reinsert and tighten the caliper bolts to the recommended torque specs (check your manual).
Double-check that everything is snug and aligned.
🔁 Step 8: Repeat on the Other Side
Never replace brake pads on one wheel only — always do both front wheels at the same time to ensure balanced braking.
🛞 Step 9: Reinstall the Wheels
- Put the wheels back on
- Hand-tighten the lug nuts
- Lower the car from the jack stands
- Fully tighten the lug nuts in a star pattern
🚘 Step 10: Test the Brakes
Before driving:
- Pump the brake pedal several times to seat the new pads and restore hydraulic pressure
- Take a short drive and listen for unusual noises
- Avoid heavy braking for the first 300–500 miles to allow the pads to bed in
💰 How Much Can You Save?
| Service | DIY Cost | Shop Cost |
|---|---|---|
| Front brake pads | $30–$70 | $150–$300 |
| Labor (per axle) | Free | $100–$200 |
| Total DIY Savings | $100–$250 | — |
If your rotors need replacing too, you can do that yourself with some extra steps.
🧠 Extra Tips
- Use ceramic or semi-metallic pads for better durability and braking performance
- Clean the caliper slide pins and re-grease if necessary
- Don’t touch the friction surface of the new pads with greasy fingers
- If unsure, take photos of each step for reference before you remove anything
🧾 Safety Notes
- Never rely solely on a jack — always use jack stands
- Wear gloves and eye protection
- Double-check torque settings with a torque wrench
🔚 Final Thoughts
Replacing your brake pads is one of the most satisfying DIY car fixes. It saves money, builds confidence, and helps you stay safe on the road. With the right tools and this guide, you can do it in just a couple of hours — no shop needed.