Driving with a hot air-blowing AC in the middle of summer makes any ride unbearable. If your car’s air conditioner suddenly stops cooling, there’s no need to panic — most issues are simple and fixable at home. This step-by-step guide will walk you through how to restore cold air back into your vehicle using basic tools and low-cost solutions.
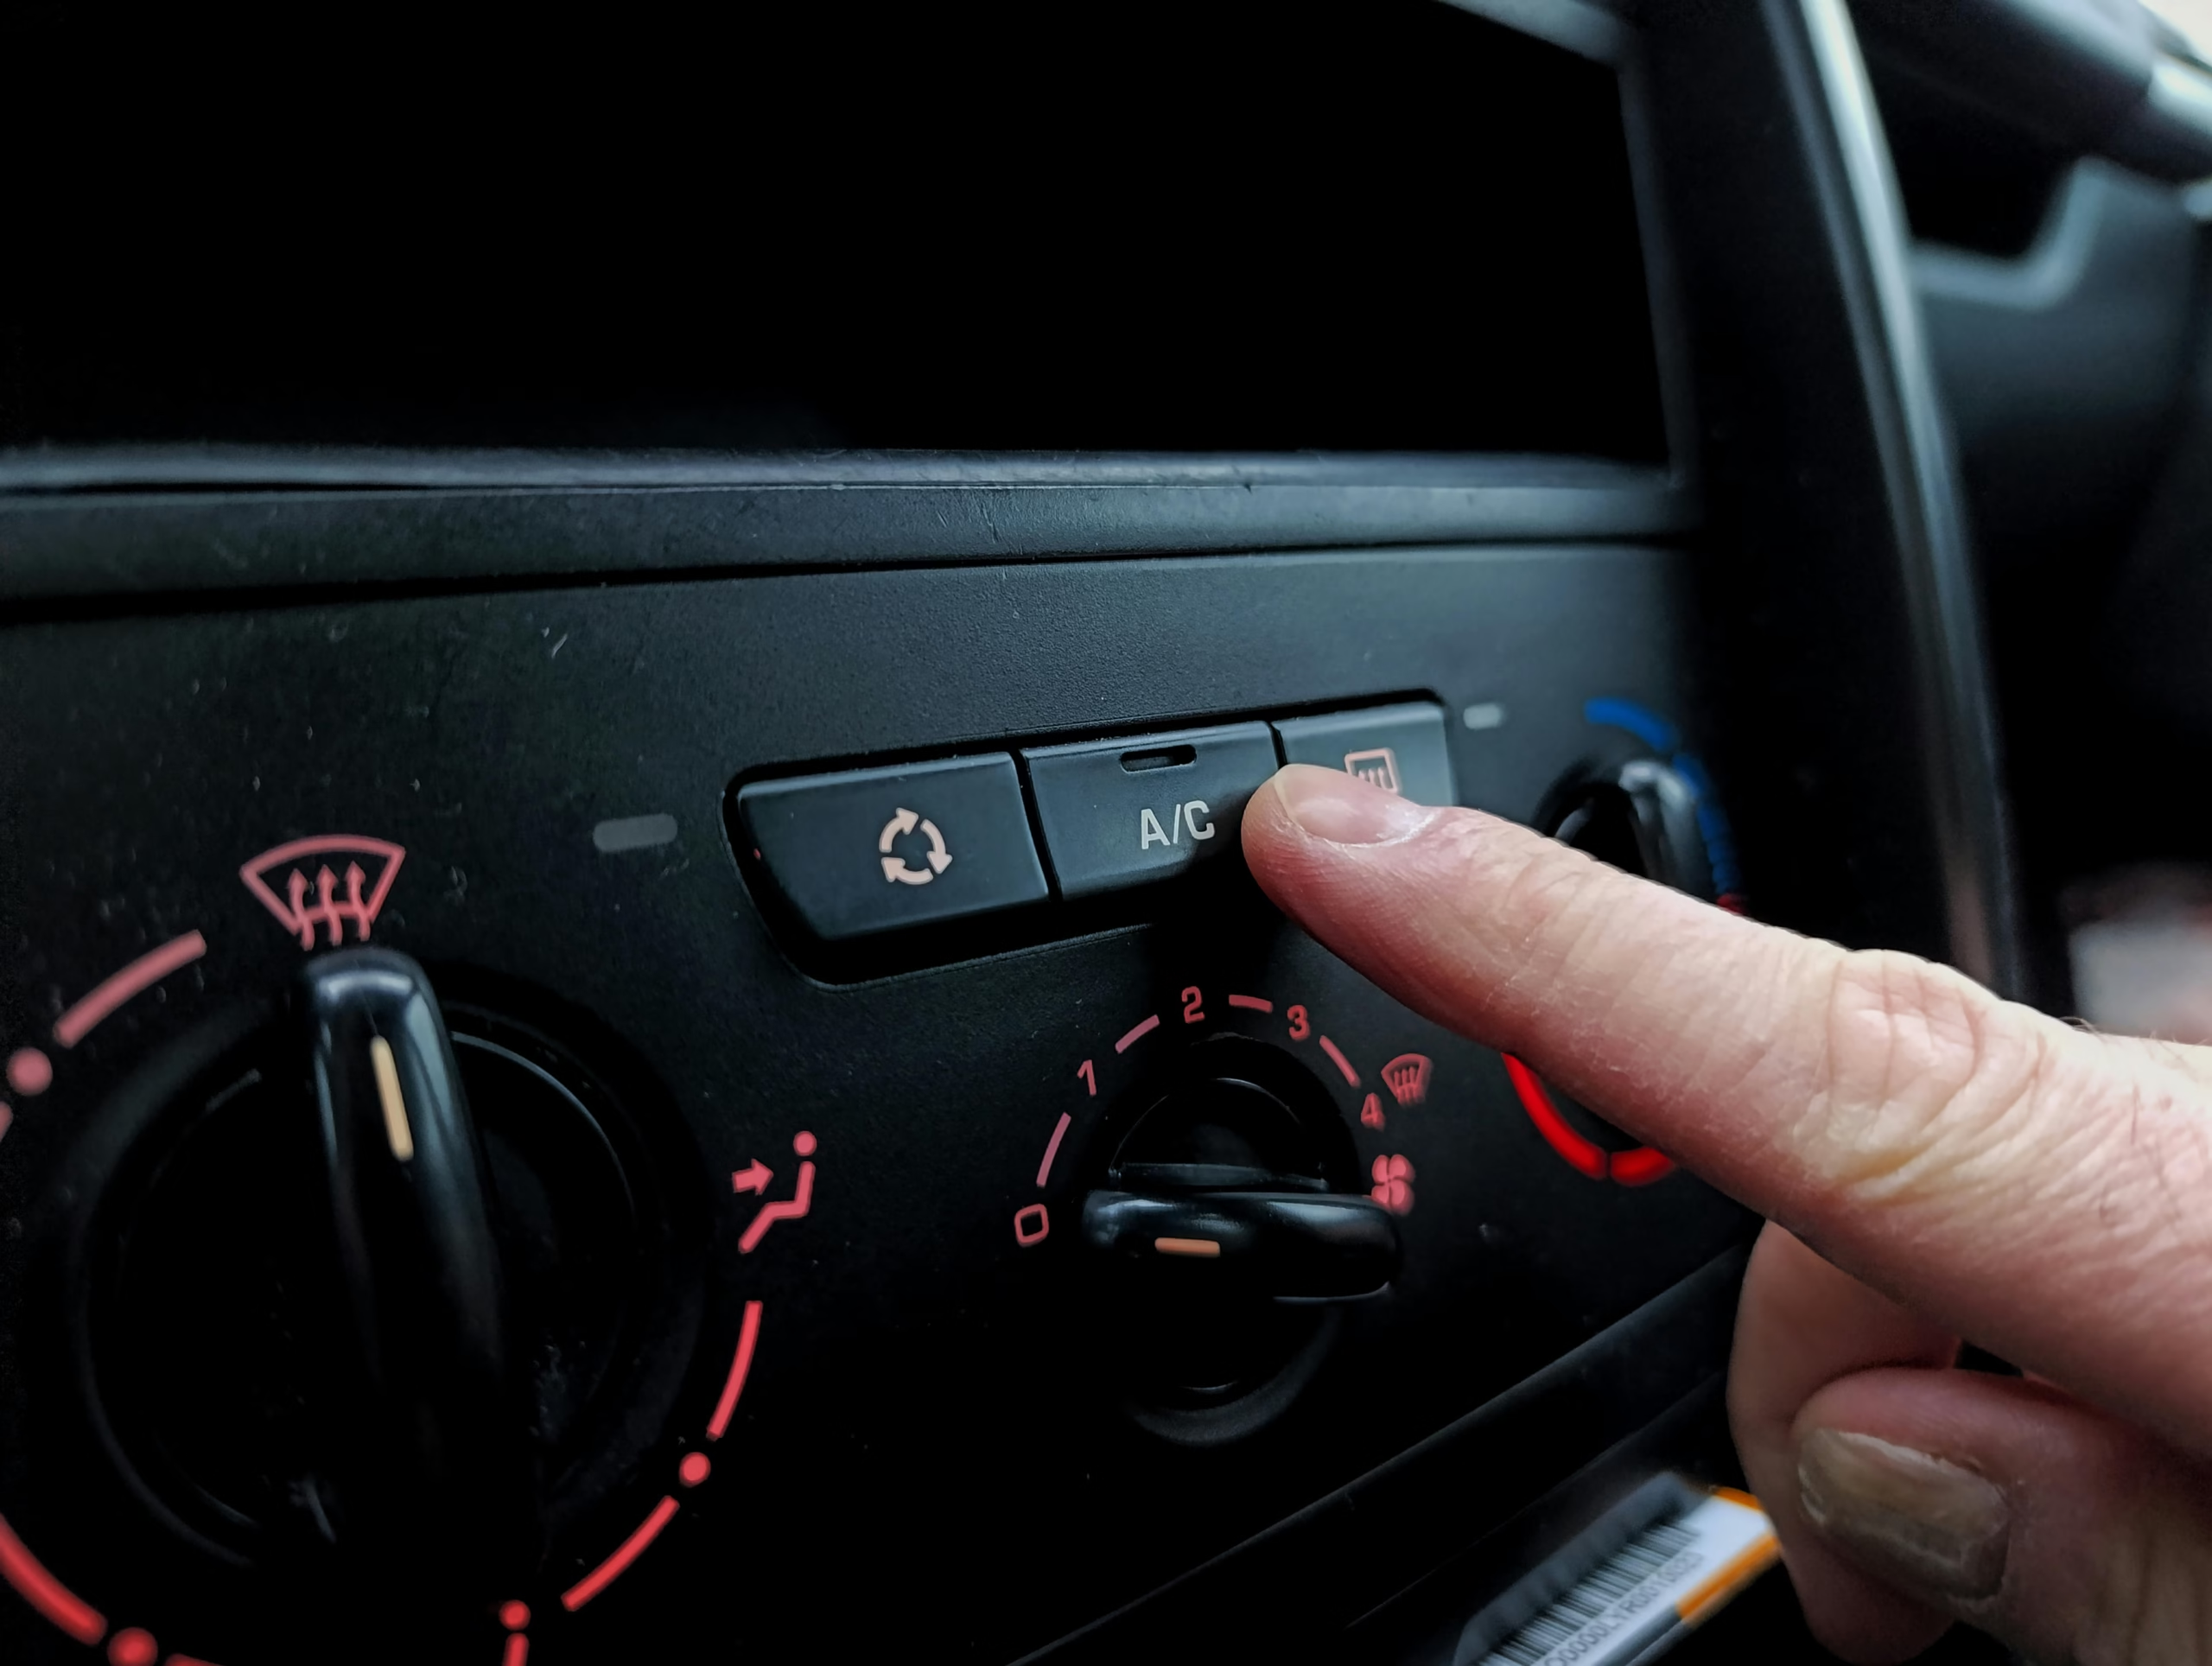
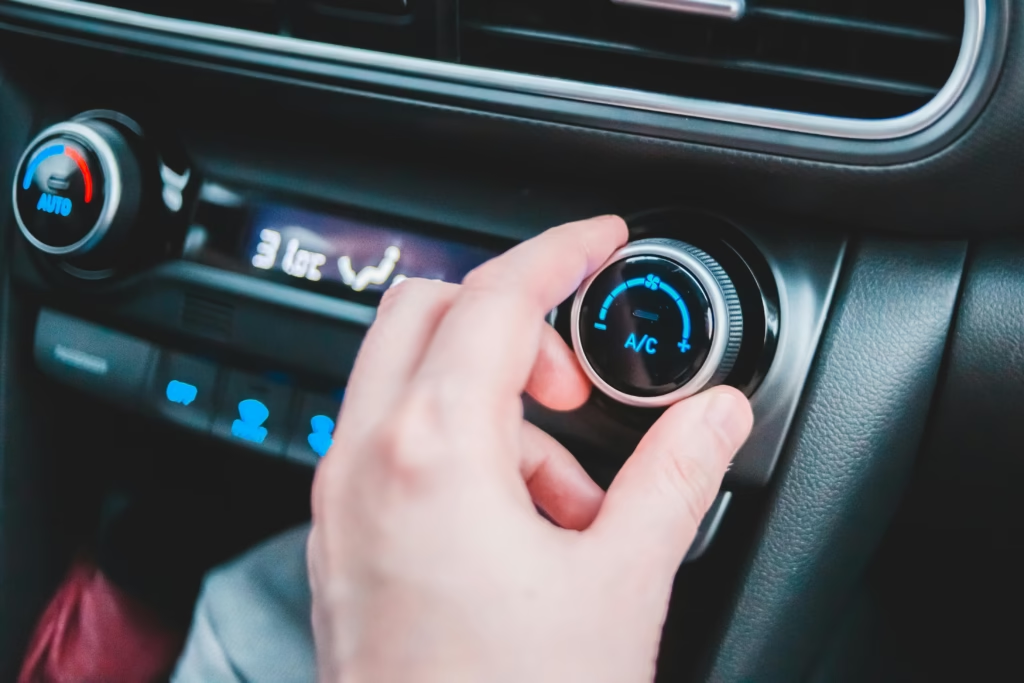
🔧 Step 1: Check the Airflow Strength and Temperature
Start your engine and turn the air conditioning to the coldest setting at maximum fan speed.
- If airflow is strong but not cold, the issue may be low refrigerant or a compressor problem.
- If airflow is weak, check the cabin air filter or the blower motor.
🧰 Step 2: Inspect and Replace the Cabin Air Filter
A dirty or clogged cabin air filter limits airflow and reduces cooling efficiency. Locate the filter, usually found behind the glovebox, and pull it out.
- If it’s covered in dust, debris, or mold, replace it immediately.
- Cabin air filters are cheap and easy to swap out — no tools required on most cars.
✅ Recommended replacement: every 12,000–15,000 miles.

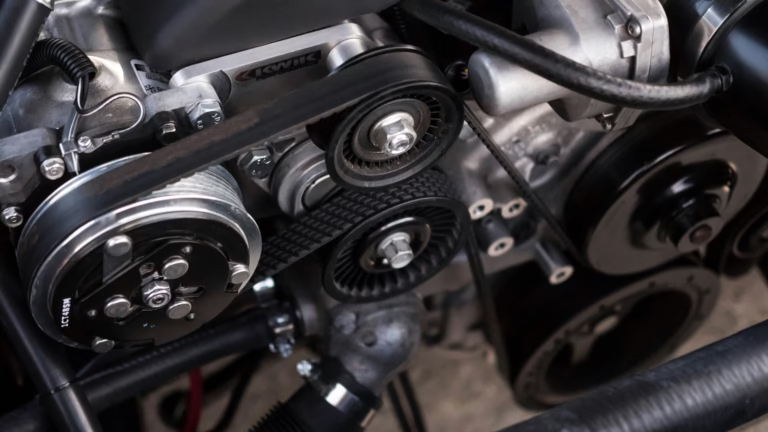
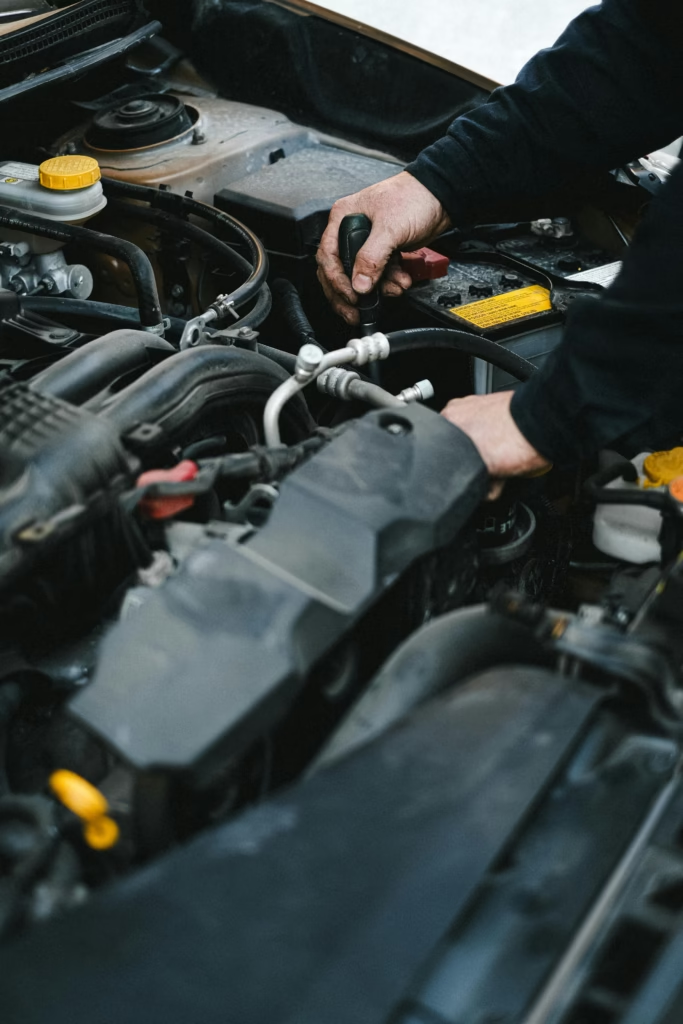
🛠️ Step 3: Check if the AC Compressor Is Engaging
Pop the hood with the engine running and the AC set to max. Locate the AC compressor and check if the clutch is spinning.
- If it is, the system is trying to cool.
- If not, you may be dealing with an electrical issue, blown fuse, or failed compressor.
💨 Step 4: Measure Refrigerant Pressure
Use a low-pressure AC gauge (available at most auto parts stores) to check refrigerant levels.
- Connect the gauge to the low-pressure port (labeled “L” and usually with a blue or black cap).
- The ideal pressure with the AC on full is around 30–40 PSI.
- If the reading is under 25 PSI, the system needs a recharge.
- If the gauge reads zero, there may be a major leak and recharging could be unsafe.

🔋 Step 5: Recharge the AC System with Refrigerant
If the system is low on refrigerant, refill it using a recharge can with a built-in pressure gauge.
Here’s how:
- Shake the can well.
- Connect it to the low-pressure port with the engine and AC running.
- Squeeze the trigger intermittently while watching the pressure gauge.
- Stop filling once the pressure is in the optimal range (usually around 35 PSI).
- Detach the hose and store the can in a cool place.
⚠️ Do not overcharge — adding too much refrigerant can damage the compressor or other AC components.
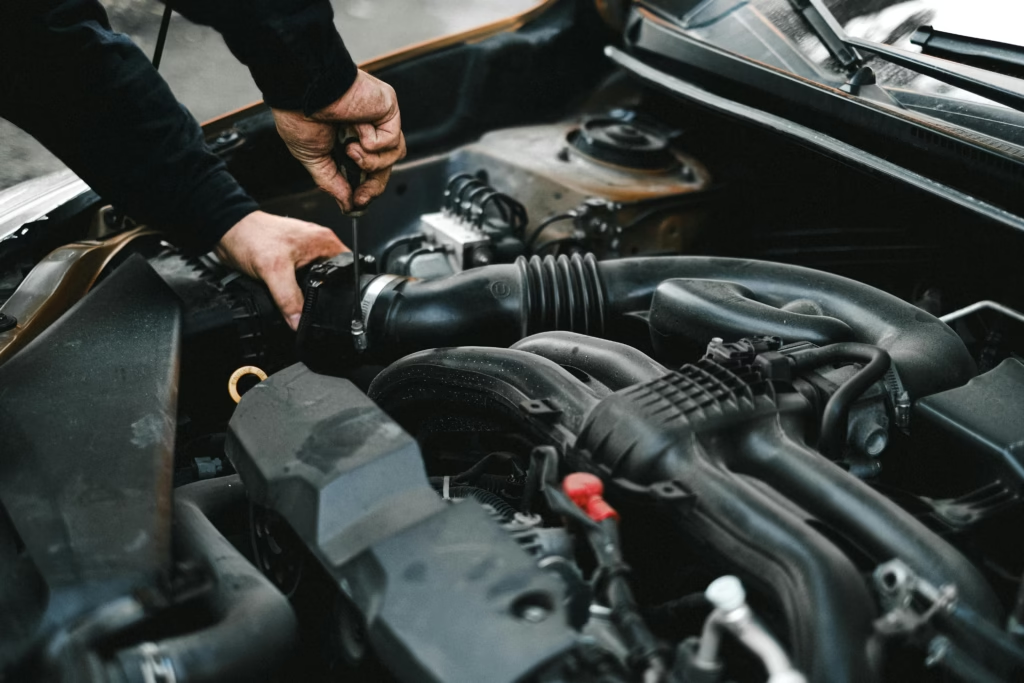
🔎 Step 6: Inspect for Leaks or Component Damage
If recharging doesn’t fix the problem or the refrigerant level drops again quickly:
- Look for oil residue around AC lines and connectors (a sign of leaks).
- Inspect the condenser and evaporator for visible damage or blockages.
- Check for blown fuses or damaged relays under the fuse box cover.
For major issues like a failed compressor or condenser, professional service is recommended.

💵 Cost to Fix Common AC Issues (DIY vs. Mechanic)
| Fix | DIY Cost | Mechanic Cost |
|---|---|---|
| Replace cabin air filter | $10–$25 | $50–$90 |
| Recharge refrigerant | $40–$70 | $120–$250 |
| Replace AC compressor | Not DIY-safe | $600–$1,000+ |
| Diagnose electrical problem | Free (fuses) | $80–$150 |
Doing your own AC recharge and basic checks can save you hundreds of dollars if the problem is minor.
🧠 Maintenance Tips to Keep AC Working
- Run the AC for a few minutes each week, even in winter, to keep seals lubricated
- Change the cabin filter once a year
- Avoid overcharging the system
- Park in shaded areas to reduce cabin heat
- Service the system every 2–3 years for optimal cooling performance
✅ Final Summary
Fixing a car AC that’s not blowing cold air doesn’t always require a trip to the mechanic. With the right tools and steps, you can often restore cooling performance at home by recharging the refrigerant, replacing the cabin filter, or checking basic components. Regular AC maintenance helps prevent future problems and keeps your summer drives cool and comfortable.