Keeping your engine healthy doesn’t always require a trip to the mechanic. One of the simplest but most essential maintenance tasks you can do yourself is checking and replacing your car’s air filter.
This quick fix improves fuel efficiency, restores engine performance, and helps reduce emissions — all in under 15 minutes.
🚗 What Does a Car Air Filter Do?
Your engine needs a constant flow of clean air to burn fuel properly. The engine air filter traps dust, dirt, pollen, leaves, and other debris, preventing them from entering the combustion chamber. Over time, the filter gets clogged, which can cause a range of issues, including:
- Reduced fuel economy
- Slower acceleration
- Rough idling or misfires
- A “check engine” light
- Overall reduced engine performance
That’s why replacing a dirty air filter regularly is critical — and easy to do on your own.
🕒 When Should You Replace It?
Most manufacturers recommend changing your air filter every 12,000 to 15,000 miles, or once a year. However, if you often drive in dusty or rural areas, it may need replacement more often.
Some signs your air filter needs replacing:
- Your car feels sluggish or less responsive
- The filter looks dark, clogged, or full of debris
- Your gas mileage has dropped
- You hear strange engine sounds or notice hesitation when accelerating
If any of these sound familiar, it’s time to check it.
🧰 Tools & Materials You’ll Need
- New engine air filter (check your owner’s manual or use an auto parts site)
- Screwdriver (usually flathead or Phillips) — for some housings
- Clean rag or cloth
- Flashlight (optional)
No special tools or mechanical knowledge is required.
🛠 Step-by-Step: How to Check and Replace Your Air Filter
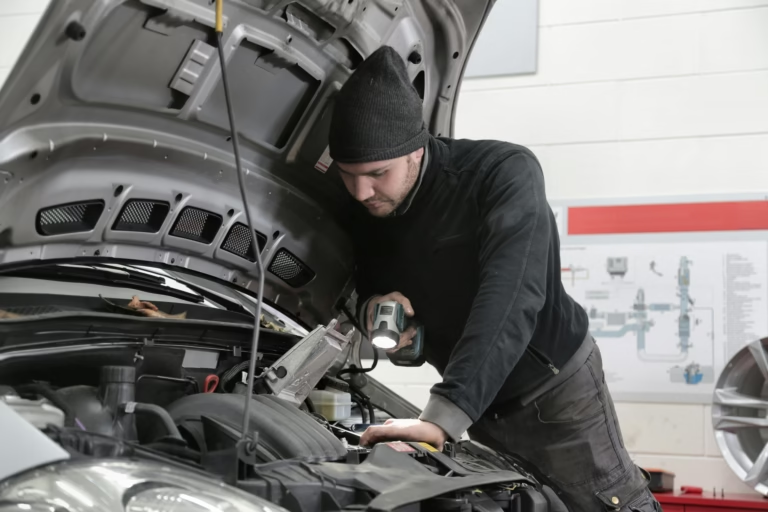
1. Open the Hood
Start by turning off your engine and making sure the vehicle is parked on a level surface. Pop the hood and prop it open securely.

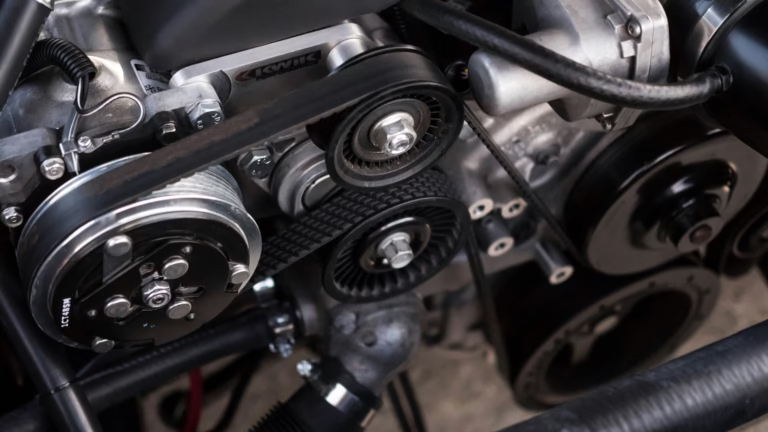
2. Locate the Air Filter Housing
Look for a black plastic rectangular box, typically located on one side of the engine bay. It’s usually connected to a large air intake hose. This is where the air filter sits.

3. Open the Housing
Some air filter covers have metal clips that pop open by hand. Others are held together with screws. Use your screwdriver if needed and set the top of the housing aside carefully.

4. Remove the Old Filter
Take out the old air filter. It might be snug, so gently wiggle it out. Inspect it closely — if it looks gray, dusty, or has visible debris trapped in the pleats, it’s ready to be replaced.
💡 Pro Tip: Hold the filter up to a light. If you can’t see light passing through, it’s too clogged.

5. Clean the Housing (Optional but Recommended)
Before installing the new filter, use a clean cloth to wipe out any loose dirt or debris from inside the housing. Don’t use water or spray cleaners — a simple dry wipe is enough.

6. Install the New Air Filter
Place the new filter in the exact same position and orientation as the old one. Make sure it fits snugly and the rubber seal sits flat all the way around.

7. Close Everything Up
Secure the housing cover back in place by reattaching clips or tightening screws. Double-check that the cover is sealed properly — gaps can allow unfiltered air into your engine.

🧠 Types of Air Filters
There are two main types:
- Paper Air Filters: Cheap, disposable, and suitable for most drivers
- Reusable Performance Filters (e.g., K&N): More expensive up front, but washable and reusable for years
Stick with OEM (Original Equipment Manufacturer) or high-quality aftermarket brands to ensure proper fit and performance.
💵 How Much Does It Cost?
| Type | Cost (USD) |
|---|---|
| Basic Paper Filter | $10–$20 |
| Reusable Filter | $40–$80 |
| Mechanic Labor (if done professionally) | $30–$50 |
Doing it yourself saves both time and money — and you’ll build confidence with basic car maintenance.