Worn-out wiper blades don’t just smear your windshield — they can be a real safety hazard when visibility matters most. The good news? Replacing them is one of the easiest DIY fixes you can do, even if you’ve never opened your car’s hood.
🕒 Time required: 5–10 minutes
🧰 Tools needed: No tools
✅ Step 1: Know What Size Blades You Need
Wiper blades come in different lengths for each vehicle.
- Check your owner’s manual
- Or look up your vehicle model online (most auto parts sites offer a tool to match blade sizes)
Some cars even have different sizes for driver and passenger sides.
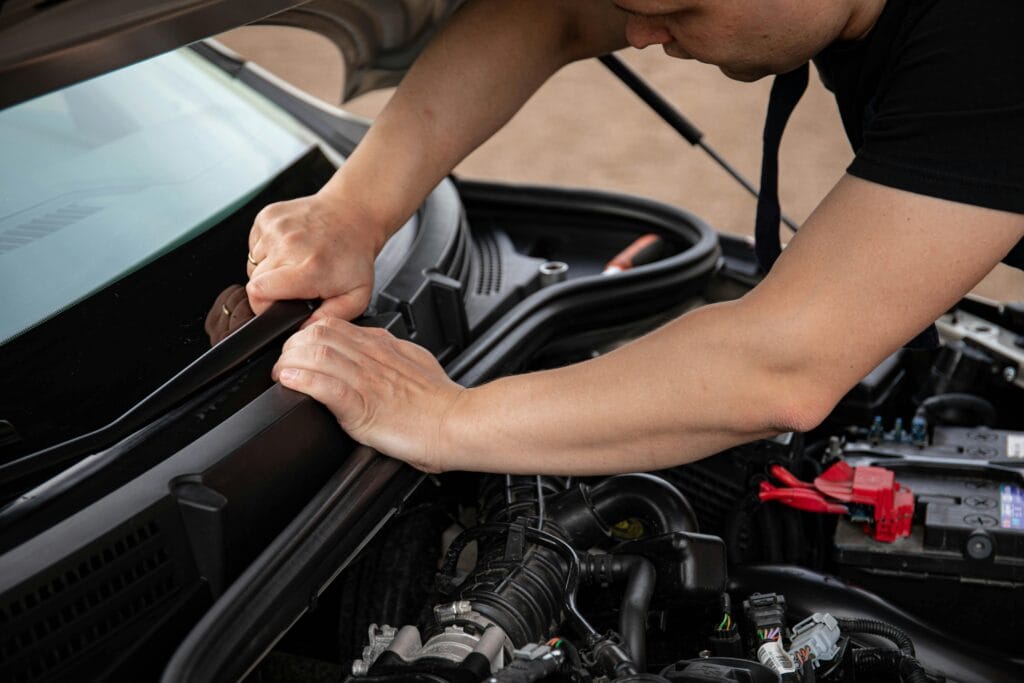
✅ Step 2: Lift the Wiper Arm
Gently lift the wiper arm away from the windshield until it stands up on its own. It should click lightly into place.
⚠️ Tip: Be careful — the bare arm without a blade can snap back and crack your windshield.

✅ Step 3: Remove the Old Wiper Blade
Most wiper blades are attached by a small plastic tab:
- Press the tab to release the blade
- Slide it downward to unhook it from the metal arm
If it’s stuck or stiff, wiggle it gently — avoid forcing anything.

✅ Step 4: Attach the New Wiper Blade
Slide the new blade into place the same way the old one came off:
- You should hear or feel a click when it’s secure
- Give it a light tug to make sure it’s locked in
Repeat the process for the other blade.

✅ Step 5: Test the Wipers
Before driving off, give them a quick test:
- Spray washer fluid
- Check for smooth, streak-free wiping
If they squeak, skip spots, or bounce — double-check the fit.
🔁 Bonus Tip: Replace Wipers Every 6–12 Months
Wiper blades degrade faster than you’d expect — especially in areas with harsh weather. Don’t wait until you’re caught in a downpour with zero visibility.
🧼 Conclusion
Changing your wiper blades is one of the simplest ways to stay safe on the road — no tools, no stress, just better visibility. Keep a spare set in your garage or trunk so you’re never caught unprepared.